A Basic Guide to Smartphone Photography for Content Creation

I recently went on a trip with a group and quickly became the go-to “photographer”—and by that, I mean me and my phone. Others tried to return the favor, but I politely declined, opting for a selfie instead. Once they saw the results, I was bombarded with questions about how I made it look so good.
The truth is, anyone can take great pictures on their phone. Yes, even you! With a few simple tactics, you’ll be capturing stunning images for your travels and social media in no time.
As a remote social media marketing agency, we don’t provide photography services. Instead, it’s up to our clients to supply photos for their social media. Whether you’re one of our clients or just need some tips to take high-quality pictures, we’ve created this essential guide to phone photography to help you level up your photo game!
1. Face Natural Light
Always try to use natural light when possible. Harsh overhead lighting and fluorescent lights can cast shadows and distort colors. Instead, use indirect, filtered light and position your subject to face the light source—like in the picture on the right.

2. Clean Your Lens
Phone camera lenses can get smudged easily. Make sure to clean your lens before taking a photo. It’s also wise to invest in a sturdy case to protect your camera—after all, a cracked lens will never capture a good photo.
3. Enable Grid Lines
Your smartphone offers a grid over the picture preview to help frame your shot. Use these guides to position your subjects and ensure any lines are straight. This grid is also handy for the rule of thirds, which we’ll dive into next.
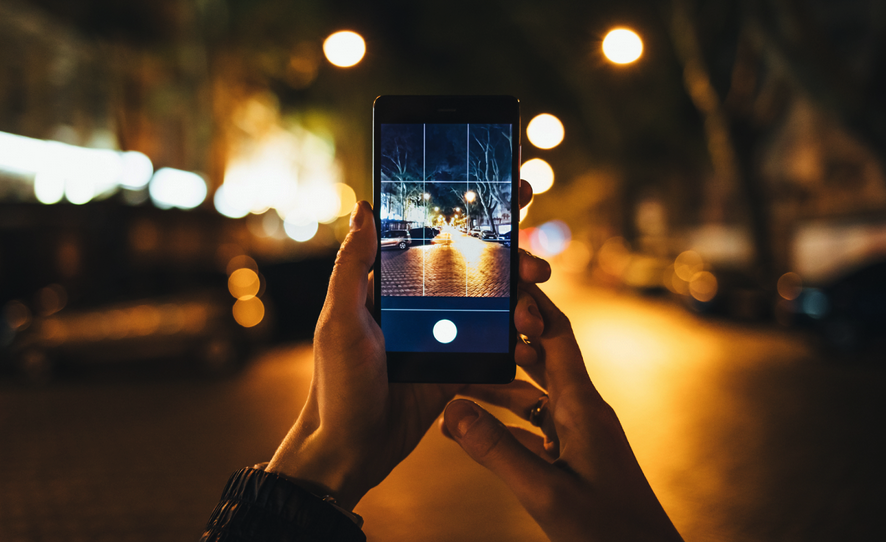
4. Use the Rule of Thirds
The rule of thirds makes your photos more visually appealing. Using the 3×3 grid on your photo preview, position elements along the lines or at intersections to create a balanced and engaging composition. Learn more about the rule of thirds in this video.

5. Experiment with Angles
Photography is an art, and experimenting with different angles, lighting, and positioning can make your photos stand out. But please, whatever you do, don’t take a selfie from below—we don’t need to see up your nose!
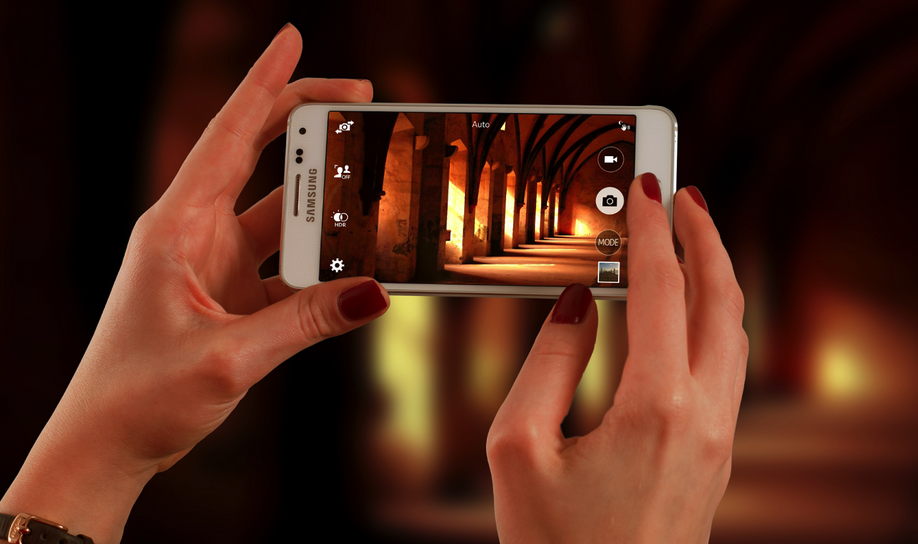
6. Avoid Digital Zoom
Digital zoom can lower image quality, making photos look pixelated or grainy. Instead, get closer to your subject if you can. Cutting off the subject, often referred to as “breaking the grid,” can create a sense of movement, energy, and depth.
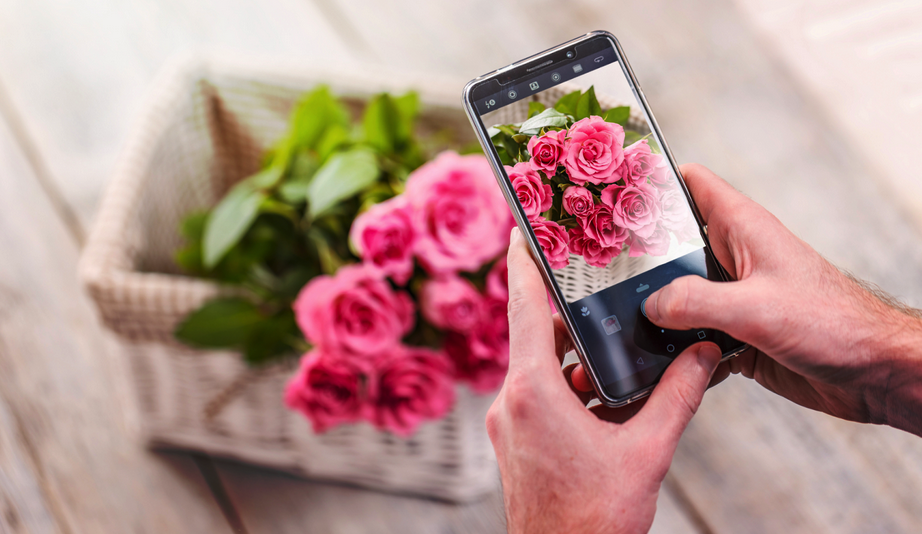
7. Balance the Elements
Think of each object in your frame as having weight. Achieve balance through symmetry or by placing objects of equal visual weight on opposite sides of the frame. Arrange the elements in your photo so they complement each other.

8. Fill the Frame
Your goal is to focus the viewer’s attention on the most important subject. Filling the frame does just that and creates a more powerful image. Get closer to your subject to eliminate unnecessary background elements and “frame up” your shot.

9. Keep Your Image Straight
Gone are the days of tilted framing. Now, we use tools like the grid preview to help keep our photos straight. Adjust your phone to make lines parallel or perpendicular to the frame.
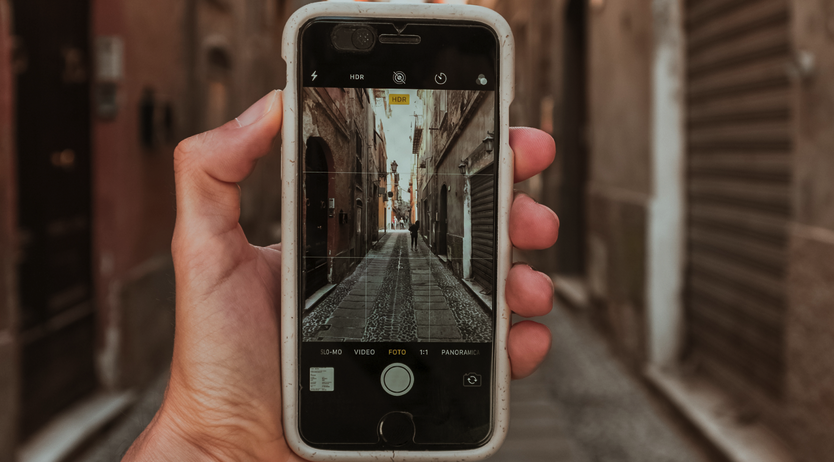
10. Learn About Your Settings
Smartphone cameras come with various settings and customization options. Familiarize yourself with these features to take the perfect picture every time. Learn more about how to utilize your camera settings in this video.

Now that you know the rules, go ahead and break them—experimenting is the best way to improve your photography. Try challenging yourself to take one photo a day. Your remote social media team will thank you!
 What are your burning questions about phone photography and content creation?
We live in the content creation space 24/7, so reach out with your questions. We’re always here to help with all things social media marketing!
Contact us to level up your current social media marketing efforts.

